Navigating Live Center
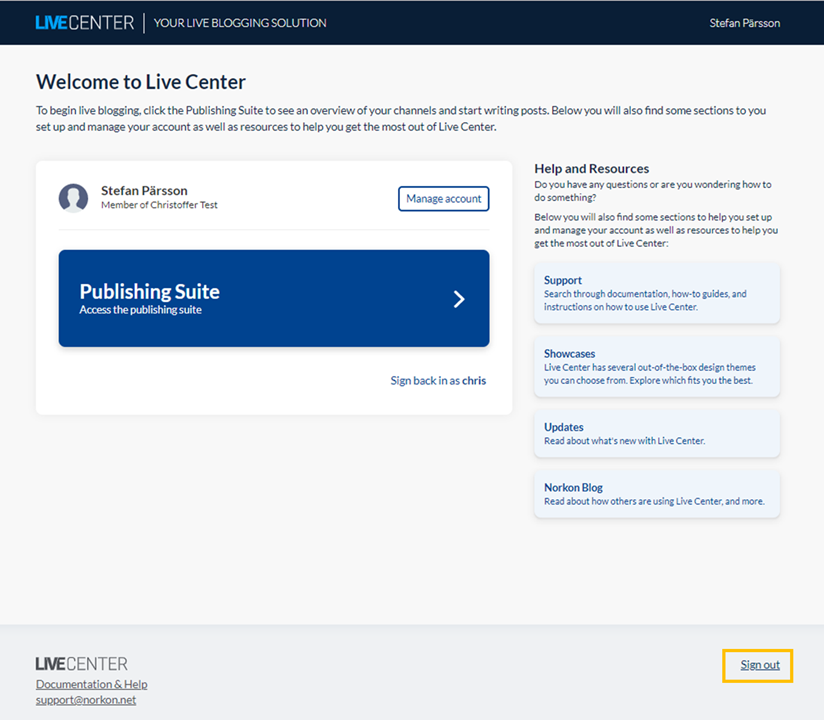
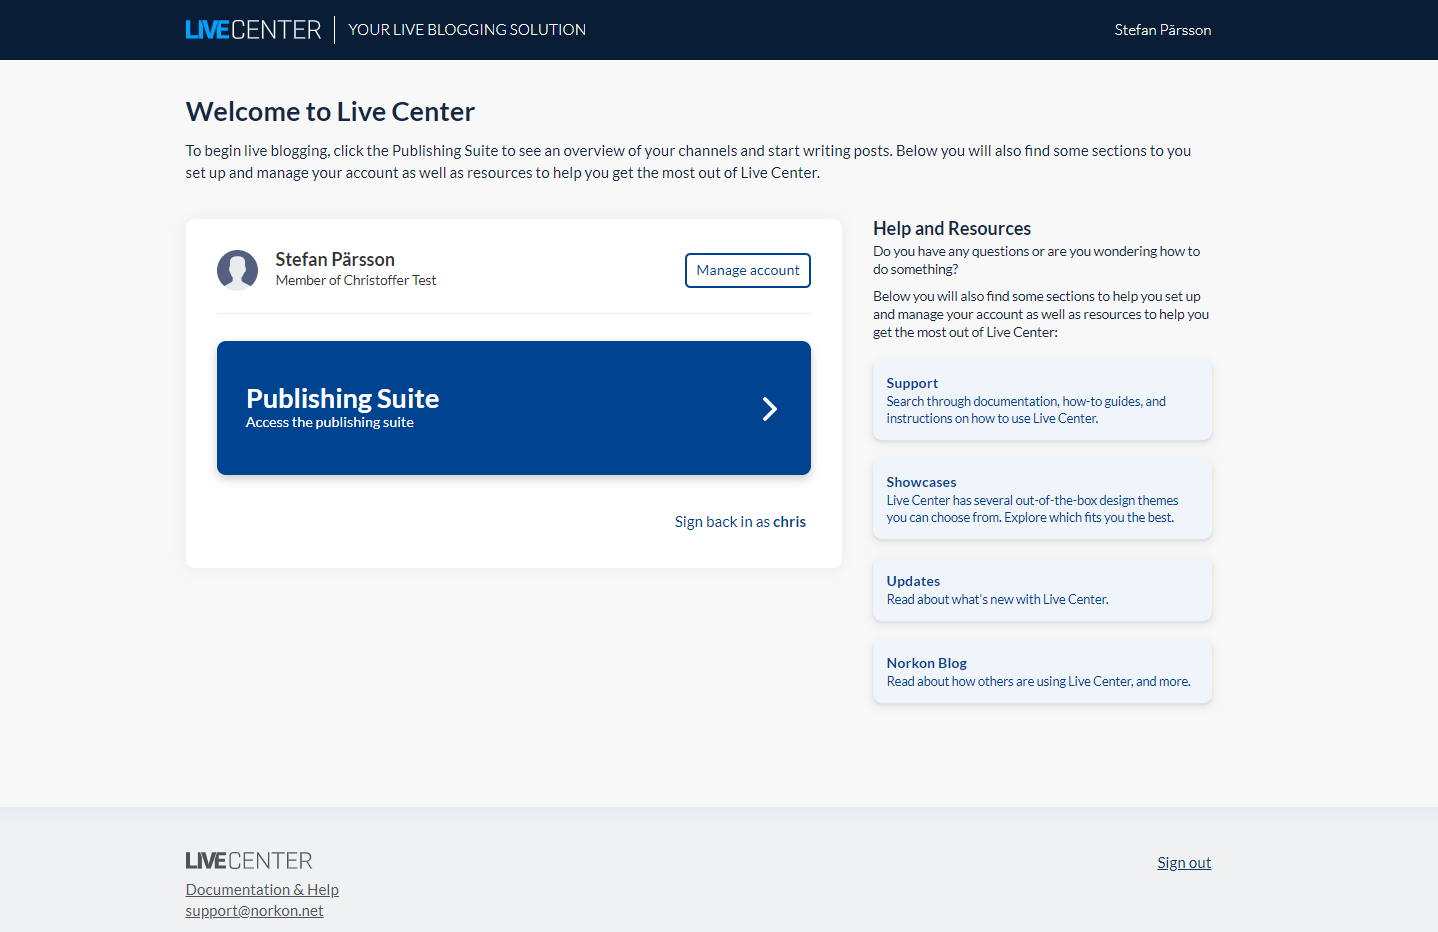
After you log into your Live Center instance you will see the main landing page of Live Center. From here, you can navigate to Manage account to update your user name, passwords,etc. or continue to Publishing Suite to start live blogging.
Additionally, the Help and Resources column contains information and support to help you get started and get the most out of Live Center.
Note: Admins will have additional sections visible to help them organize and manage their account. For more on how to assign and manage admins and users, please refer to the Users section.
Publishing Suite
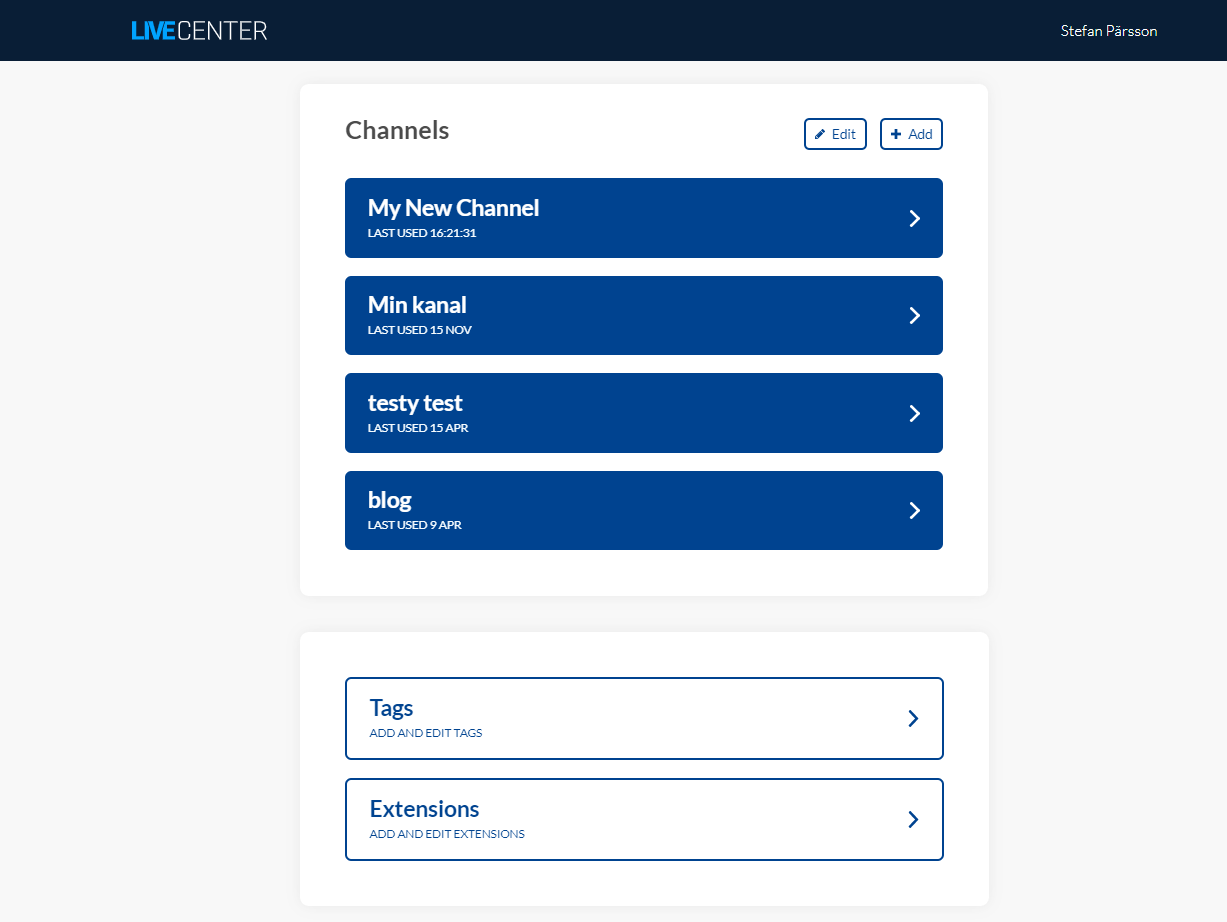
Once inside the Publishing Suite, you will see an overview of all your Live Center channels. A channel represents a Live Blog you can create and embed on your site or app. At the bottom of the page you will also see links to your Tags and Extension.
Creating a new live blog
To create a new live blog, click the green plus symbol next to the Channels header. You will then be asked to create a name for your channel. Choose a name to help you distinguish the channel from other channels. Channel names are internal and will not be visible to readers.

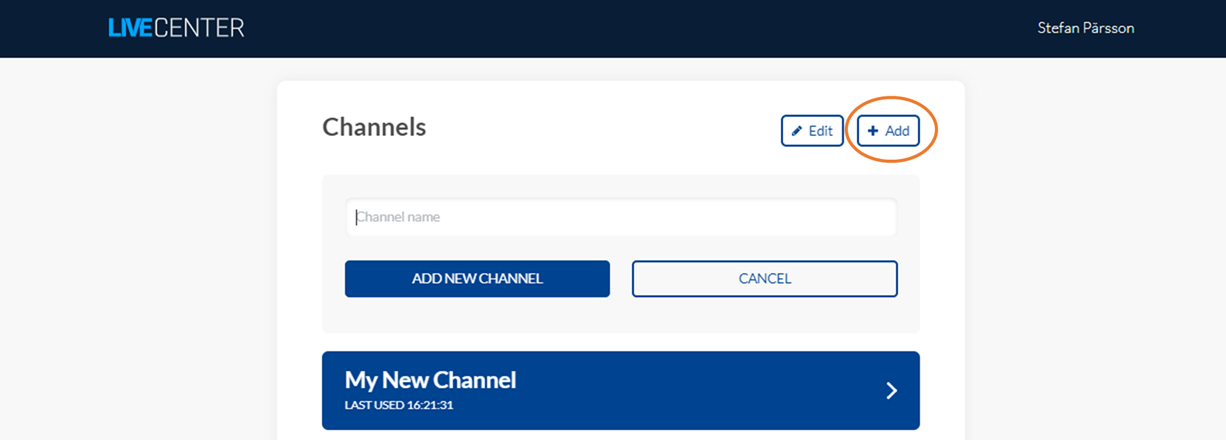
After you choose a name, click Add new channel to finish creating the channel.
To embed the channel on your website, click the name of the new channel to navigate to the Live Center Editor.
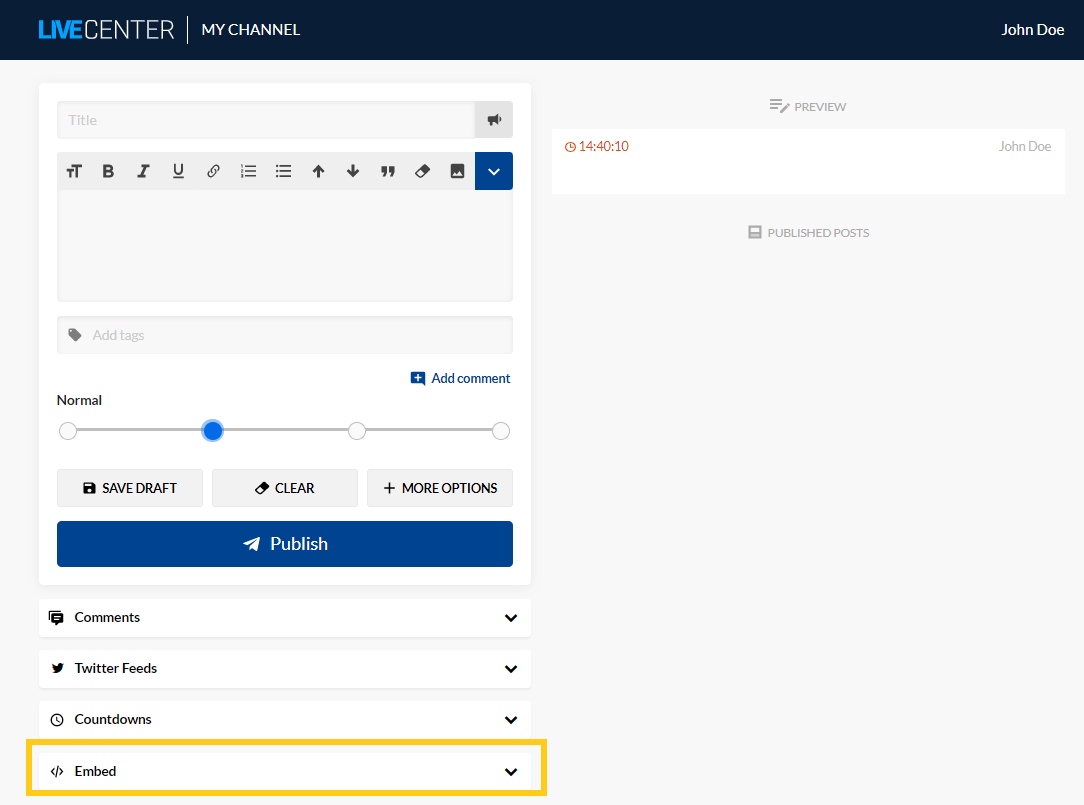
Live Center Editor.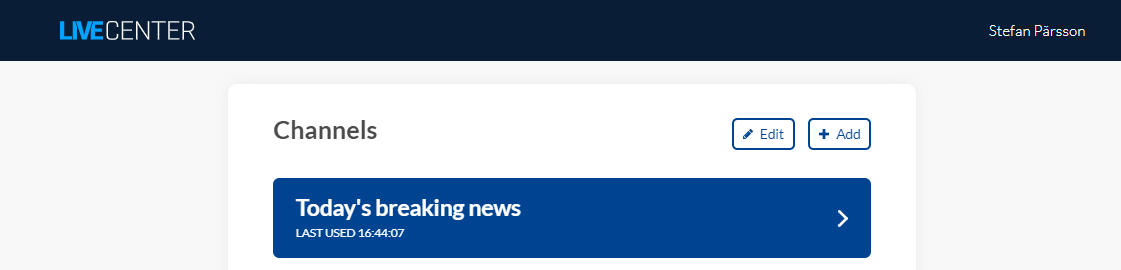

Embedding a Channel
Inside the editor, you will see a section at the bottom of the left-hand side called Embed which when expanded will give you options for different live blog designs.
Each design skin can be freely used to create a different look and feel for your live blog.
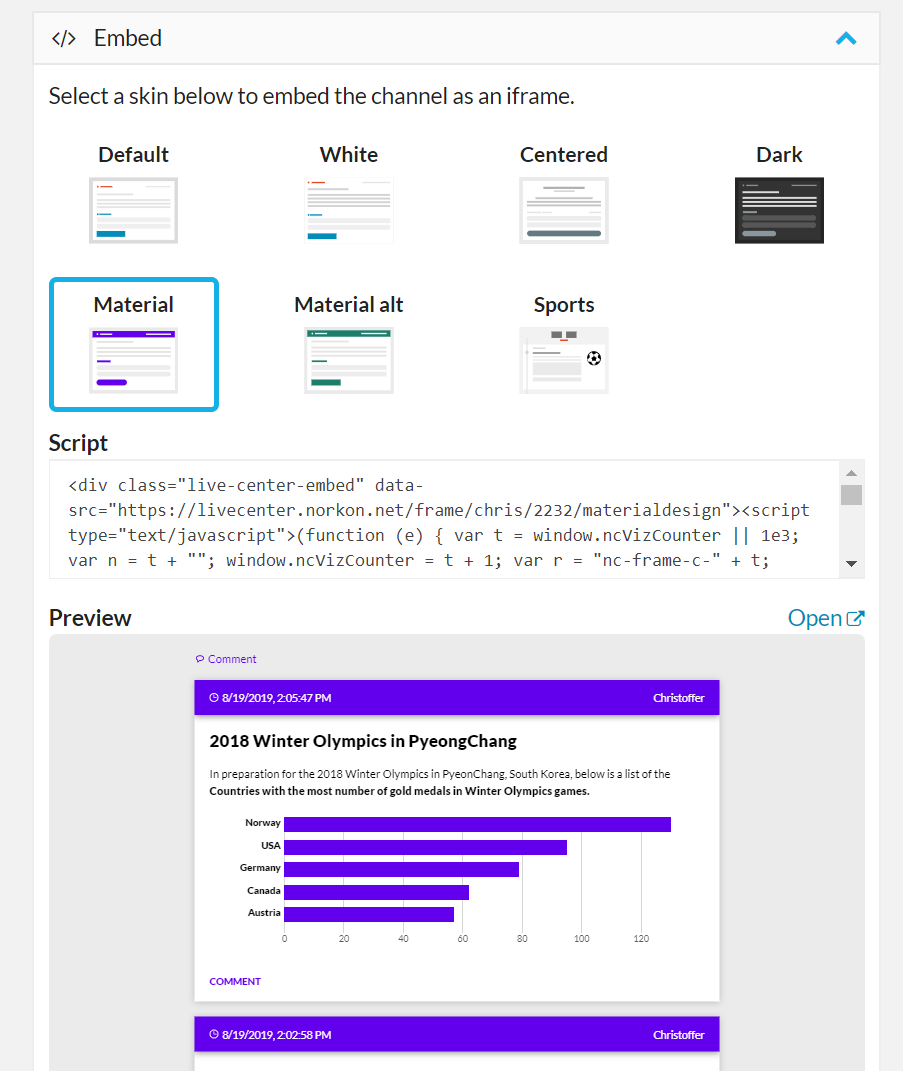
To see how the feed will look for your readers, simply select a skin and a Preview will be rendered below. To see a full version of the skin, follow the Open link which will open a new tab in your browser to show you the preview of that embed option.
When you have found a skin you want to use, copy the code in the Script area or the oEmbed URL.
Script oEmbed URL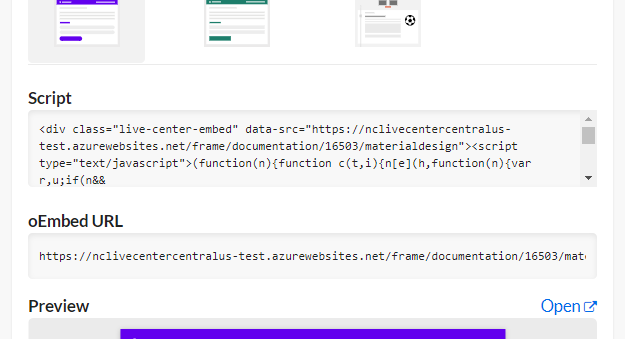
Copy and paste the code on your website to embed the channel as a frame for your readers to see.
You also have the option to embed the channel as a JavaScript object which will allow more freedom in how you design your channel and give your readers a better user experience through faster loading and crisper engagement.
Please refer to our Implementation Documentation for more implementation details
Or us at contact@norkon.net for details on our JavaScript library and how to set up a custom live blog.
Deleting a live blog
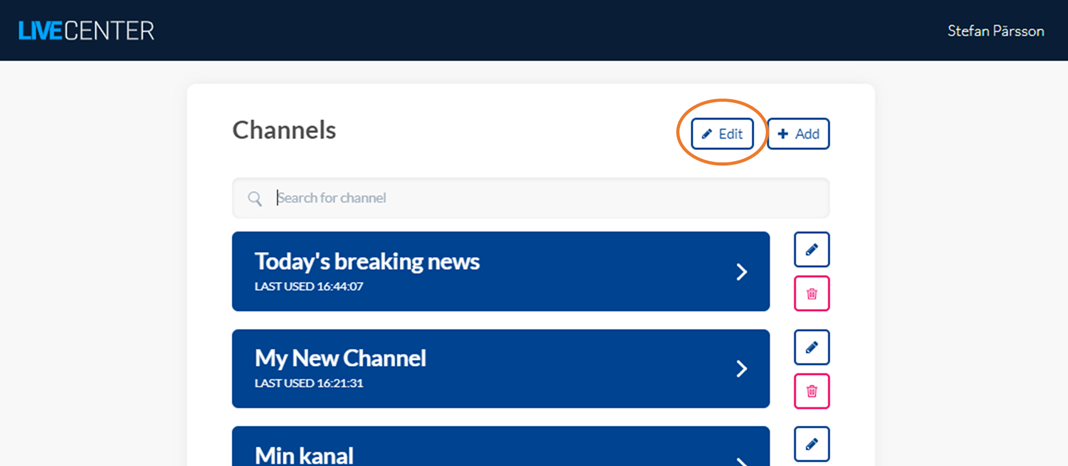
If you want to delete a live blog from the account, click the Edit pen in the upper right-hand corner of the Channel overview. This will open the edit mode for all channels you have created.
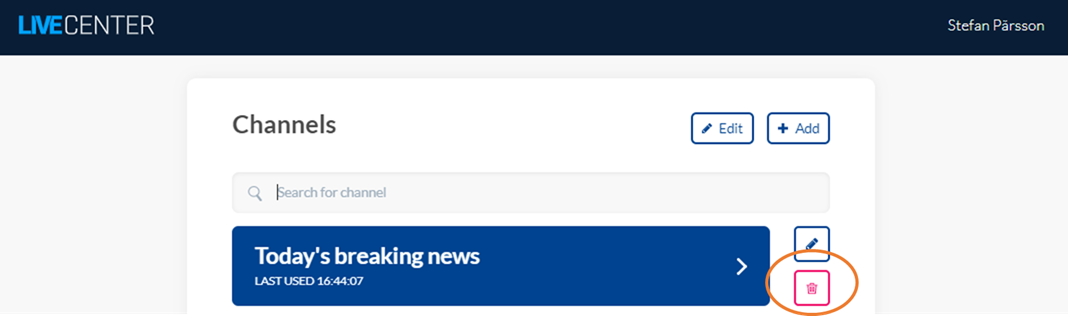
Next, you click the Trash bin icon, after which you will be asked to confirm that you really want to delete the channel by clicking the Trash bin icon one more time.
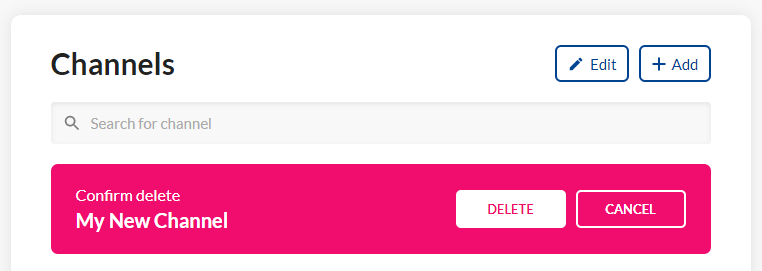
The Channel will then be deleted from the channel overview
Note: Deleting a channel will NOT delete it permanently, and it will be visible on any page, website, or app where it has been embedded. The channel will simply be removed from the interface of your account, but it still exists in Live Centers databases.
It's important to recognize that the channel, the posts with text, content, etc. will still be accessible until the actual embed or implementation is removed from your website.
Managing Tags
Tags allow you to categorize your posts by different subjects, topics, instruments, or any other type of classifiers. This helps your readers to find relevant posts and articles related to a post and allows you to drive traffic to other content and parts of your website.
Tags are also used to generate the Blog Overview Summary where readers can quickly and easily see which are the most commented topics and filter posts by tag, date, and importance level.
See the section for Tags for more details.
Click Tags to navigate to the Tag Manager
Tags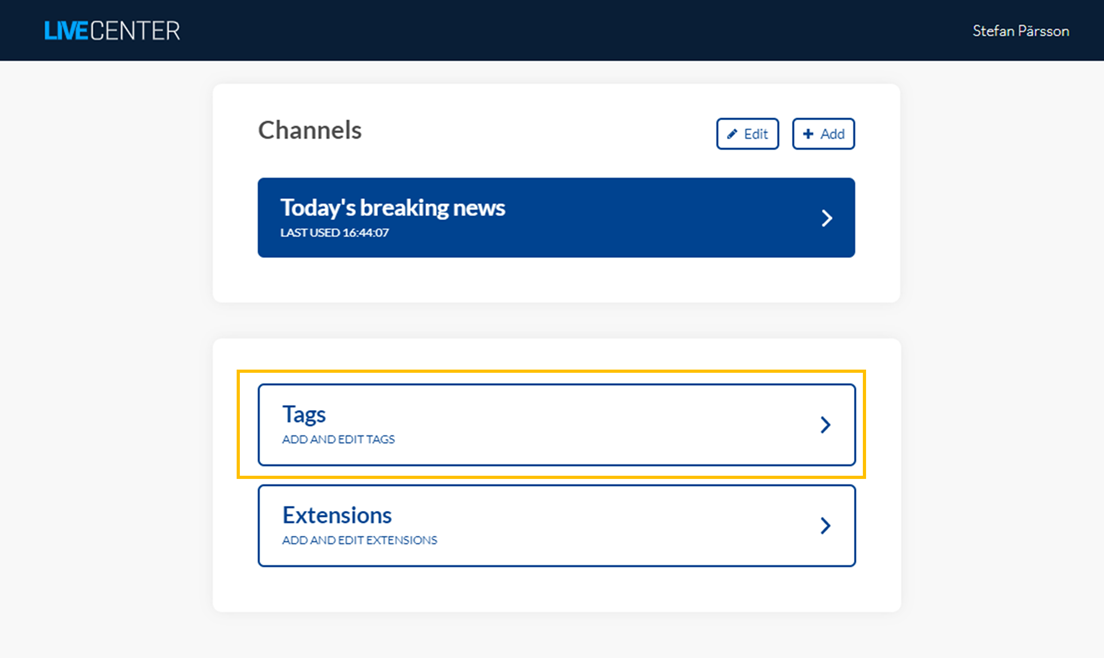
Inside you are presented with a list of existing tags, an option to search for tags, as well as buttons next to each tag to rename and delete them.
To add a new tag, begin by searching for the tag to verify that it does not already exit. If a tag is found, it is ready to be used inside the editor.
If a tag is not found, click Create new tag to add the tag you wish to create. This will add a tag for the term you searched for.
Create new tag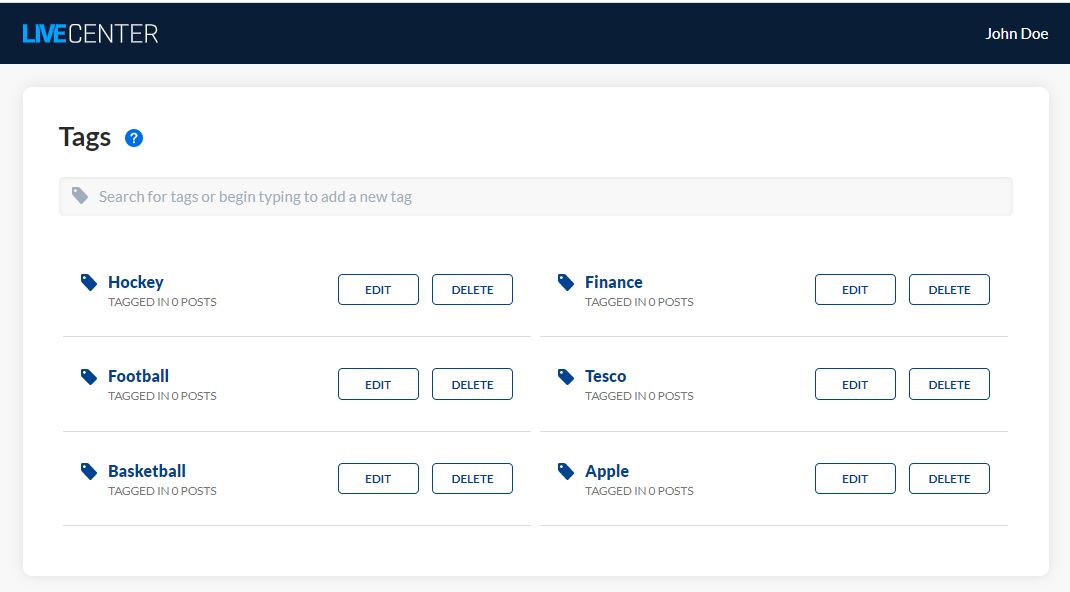
Language options
Besides English, Live Center currently also supports Norwegian, Swedish, English, Danish and Urdu. To change the language of the solution, navigate to the main Live Center overview and select your desired language in the lower right-hand corner. Please contact us if you need another language option.
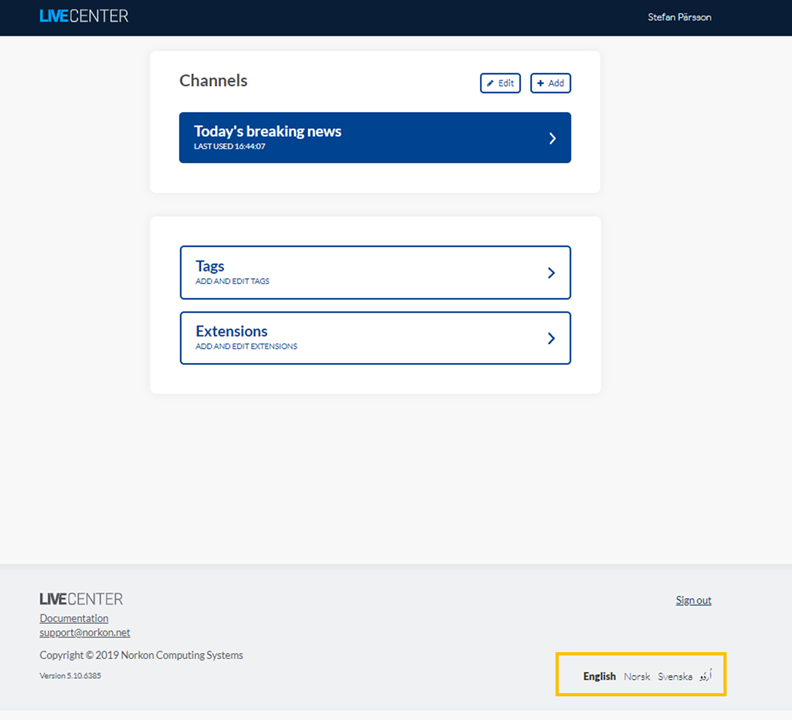
Signing out
To sign out of Live Center, navigate to the main overview and click the Sign out button at the bottom right-hand side of the screen just above the language options.